Explanation of Different Material Maps
- Textures are 2D images that serve specific purposes, such as giving the surface its color, surface detail, light interaction, etc.
- A material is a complex combination of several layers (textures), which determine how an object looks and behaves visually in a 3D environment.
- Each layer or map holds data that controls a different characteristic of the surface, such as color, reflectivity, roughness, or depth.
Together, these elements work in harmony to bring 3D models to life with realistic lighting, shading, and surface details!
Open a Diffuse/Albedo Texture to Generate Upscale, Layers, and Save as a UDK Material
| Texture1 | Texture2 | Filename: | |
 |
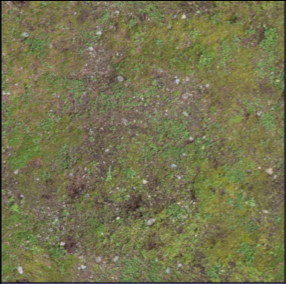 |
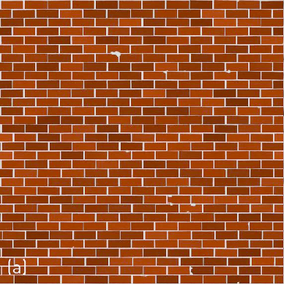
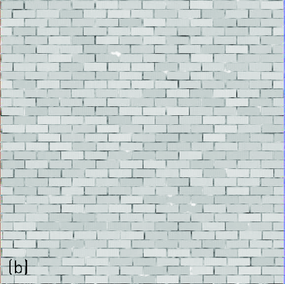
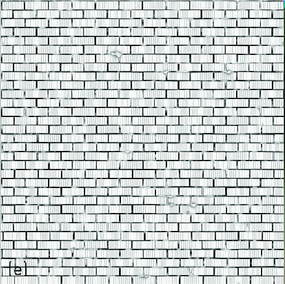
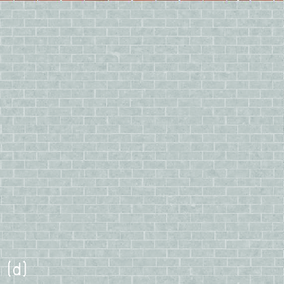
Diffuse/Albedo Texture Purpose: Defines the base color and appearance of an object’s surface. How it Works: This is the main texture applied to a surface, giving it its color and basic appearance. It serves as the foundation for all other texture layers. Without a Diffuse/Albedo Texture, the object would lack its essential color and visual identity in the 3D space. |
|
 |
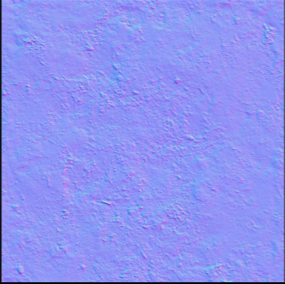 |
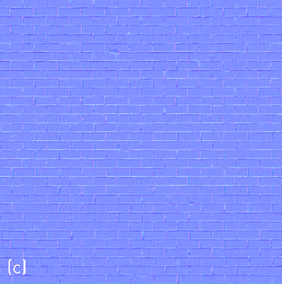
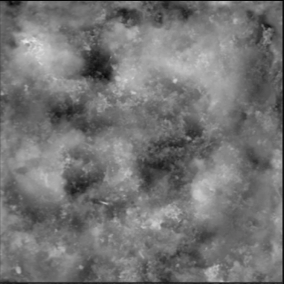
Normal Map/Bump Map/Height Map Purpose: Simulates small surface details like wrinkles and scratches. Normal Map: Uses RGB color channels (often appearing blue-ish or x-ray-like) to encode surface direction and simulate light interaction without altering the model's geometry. Lighter areas represent outward-facing surfaces, while darker areas simulate recessed areas. |
|
 |
 |
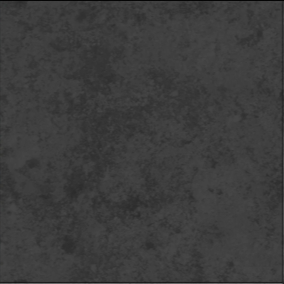
Displacement Map Purpose: Modifies the actual geometry by displacing vertices based on grayscale values. How it Works: Lighter values push the surface outward, darker values pull it inward. |
|
 |
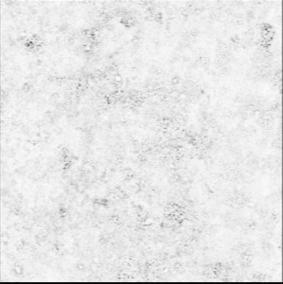 |
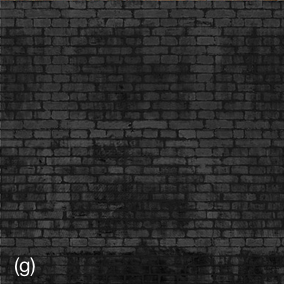
Ambient Occlusion Map Purpose: Simulates soft shadows and light occlusion in crevices. How it Works: Lighter areas receive more light, darker areas are shadowed. |
|
 |
 |
Roughness Map Purpose: Controls the roughness or smoothness of a material's surface. How it Works: Lighter values indicate rougher surfaces, darker values indicate smoother surfaces. |
|
 |
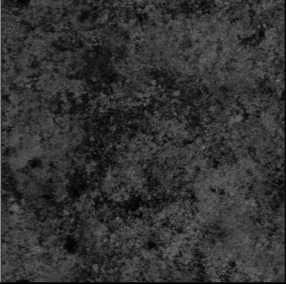 |
Specular Map Purpose: Determines how shiny or reflective a surface is. How it Works: Lighter values mean more reflection, darker values mean less reflection. |
|
Upscaling Texture Maps for UDK
First, divide all textures into categories by type of material:
- Wooden products
- Concrete walls and floors
- Brick walls
- Masonry
- Etc.
For each category, select the Topaz AI settings in which the textures will look most plausible and natural after increasing.
Process all the textures with Topaz AI.
Then compare the original textures and the textures that came out after Topaz AI. You will see a lot of textures unsuccessfully processed by Topaz AI.
For these textures, you need to select individual Topaz AI settings and/or additionally process them with other tools.
Then go through all the textures again and select those that require seamless connection from all sides or only from some. Process these textures.
When you have done all this, start playing the game and look at everything carefully. You will see that some textures look bad and need to be modified or redone.
There are a lot of cases when Topaz AI cannot properly increase the texture at all. In these cases, search for photos on the Internet or take photos yourself and then process the photos in graphic editors.
I described only the general approach but did not touch on the hundreds of different nuances depending on the specific game and the result you want to get.